
Clean OS & Panel Deploy
Optimized installation on AlmaLinux, Ubuntu, or Debian with recommended production partition layouts.


To install Virtualmin, set up Wordpress, configure email, and create a mail server with our comprehensive Virtualmin installation service.
Supported Control Panel Ecosystems & Addons
Enterprise Server Management
Our certified Linux engineers handle OS hardening, web server tuning, firewall rules, and zero-downtime transfers.
Optimized installation on AlmaLinux, Ubuntu, or Debian with recommended production partition layouts.

CSF firewall, ModSecurity OWASP rules, and brute-force protection configured out of the box.

LiteSpeed or Nginx reverse proxy with OPcache, Redis caching, and PHP-FPM worker pool optimization.

MySQL/MariaDB buffer tuning, slow query logging, and InnoDB optimization for responsive dynamic websites.

Full SPF, DKIM, DMARC, and PTR record validation to guarantee high inbox deliverability.

Seamless transfers of accounts, databases, emails, and DNS with comprehensive pre-switch data audits.
Free your developers from routine package updates, kernel patches, and user account troubleshooting.
Fine-tuned daemons prevent memory leaks, load spikes, and resource starvation on high-traffic servers.

Real-time intrusion detection and automated vulnerability patching neutralize exploits instantly.
Starting at
one-time fix
Order Incident FixStarting at
one-time setup
Start SetupStarting at
per server / month
Subscribe Pro CareSide-By-Side
| Feature | HostsCheap | Unmanaged VPS / DIY | Generic Outsourced Support |
|---|---|---|---|
| Response SLA | < 15 Minutes | None (DIY) | 4-8 Hours |
| Root Security Hardening Included | +$50 Extra | ||
| Database & Webserver Tuning | Manual | ||
| Zero-Downtime Migration Support | +$100 Extra | ||
| Proactive Health Monitoring | Basic Ping Only | ||
| Money-Back Guarantee | 14 Days | None | None |
Every panel configuration includes our hardened security baseline to safeguard critical data against modern threat vectors.
Customer Stories
“Migrated 45 customer accounts to a new high-spec server overnight without dropping a single email or customer session. Flawless execution.”
“Our server was constantly hit by brute force attacks. Their security team hardened CSF and configured fail2ban within 45 minutes.”
“Subscribing to Monthly Pro Care was the best decision for our agency. Tier-3 sysadmins on call whenever we need them.”
Get your server up and running smoothly with our expert Virtualmin install service, ensuring a fast and secure virtual hosting setup. Learn how to install Virtualmin, set up WordPress, and configure email services with our comprehensive guide. Get your mail server up and running smoothly with Virtualmin's expert setup service.
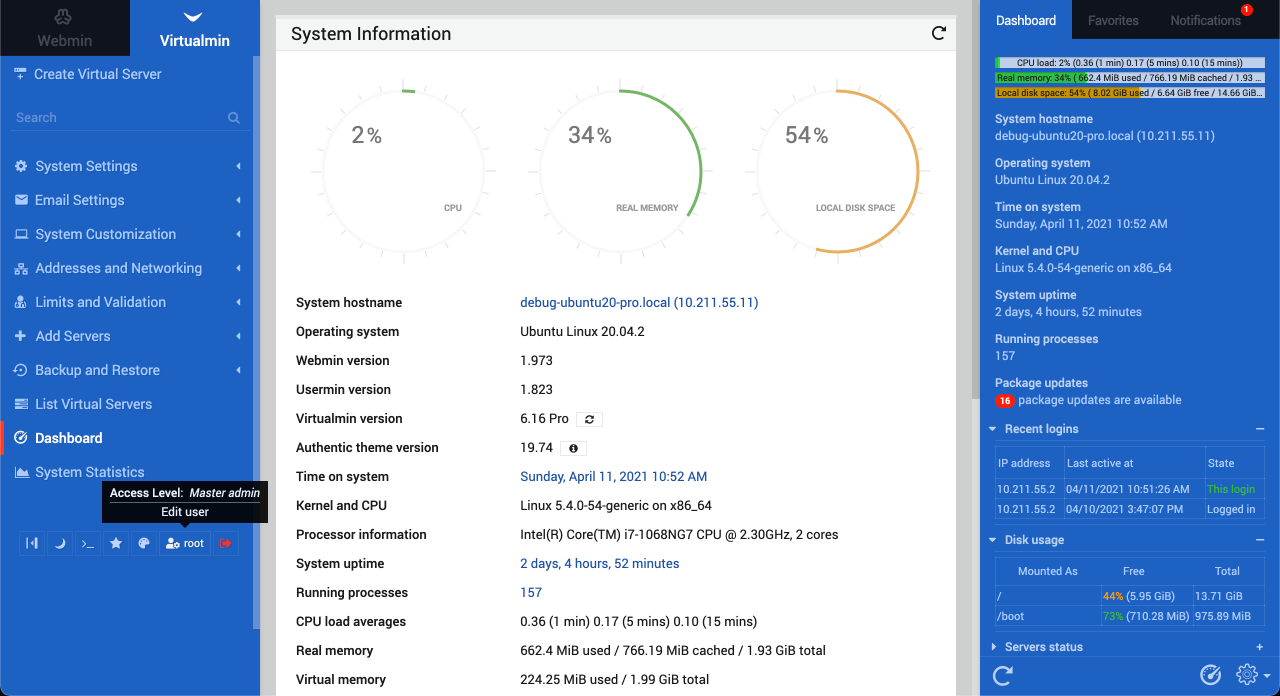
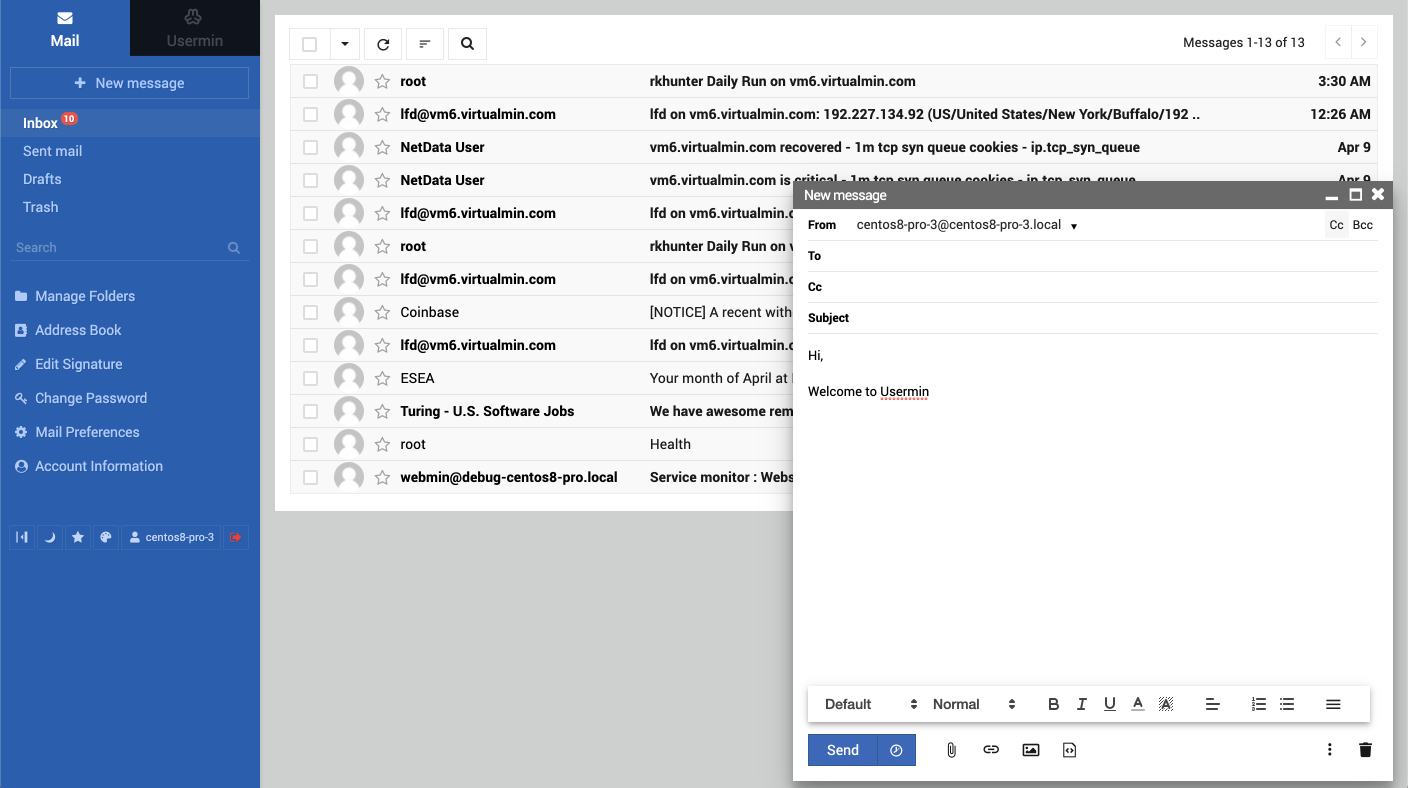
$200.00 USD One Time Setup Fee
GigID : CPS-VIRTIS-413 Delivery 04 Days
HostsCheap.com offers Virtualmin Installation Service, a cost-effective way to get you ready to host virtual servers, or take your existing Virtualmin installation to the next level. With this service, HostsCheap.com has all the technical expertise necessary to maximize your virtual server's potential, and their proficient staff will handle any problems that you may encounter during the installation process. It is hard to find one company who can do everything for you, especially when it comes to server management. Don't try and manage your server on your own; leave some time in the day for yourself! You'll thank yourself later!
✅ Domain Setup upto 3 Domain
✅ Configure Multiple php version
✅ Improvements Security System
✅ Install Free SSL Addon
✅ SSL certificate Installation
✅ SPF Setup similar with Existing Configuration.
✅ DKIM Setup similar with Existing Configuration.
✅ DMARC Setup similar with Existing Configuration.
✅ rDNS Setup.
✅ Spam Filter setup of Requirements!.
Welcome to the realm of Virtualmin Install Service where you are able to set up your web hosting control panel in a matter of a few minutes. We are determined and skilled in offering installation services with the understanding that a server setup should be quick and easy.
No longer do you have to invest an arm and a leg and go through complex steps while trying to set up your server and other applications. Allow us to take care of your installation with our Virtualmin Install Service while you have a little peace of mind.
We have a team that is proficient in Virtualmin, a highly regarded and endorsed web hosting control panel that is used across the globe. Whether you are a business owner, developer or IT specialist, users of Virtualmin are able to manage their servers without any issues or difficulty.
If you opt for our Virtualmin Install Service, you will not have to worry about going through a cumbersome process as all that is required like selecting an operating system and setting up Virtualmin to best fit your needs would be done by us. We understand how precious your time is, so we ensure that our fast installation minimizes downtime and allows you to start your business activities immediately.
Digital strategies can never be exposed to risk and in the installation phase we put emphasis on security measures. We make sure that at the very beginning, your Virtualmin is ready for operations without exposing your server and data.
With Virtualmin Install Service, everything gets better and none of your server management hassles remains. Don’t delay any further and contact us to take your hosting performance to the next level!
Key Takeaways:
In this age of digitization, purchasing any sort of server requires a good hosting control panel. One such control panel which has gained users among the users is Virtualmin. This part of this report will deal with explaining Virtualmin and its usefulness as a web hosting control panel.
Without a doubt, Virtualmin will prove to be a powerful tool when it comes to web hosting, as it is designed in such a way that it gives all the features needed to the user. However, you don’t have to worry about the technicalities, as it is remarkably user-friendly. Virtualmin can serve as a perfect platform for novice users to experts.
It’s remarkable to note that Virtualmin can be considered as the web host control panel. In addition to this, using it can be beneficial to neophytes & seasoned professionals equally, below are some of the benefits that using Virtualmin would provide to you:
Strengthened Security Aspects: Multiple security features and tools are there with Virtualmin to make sure you do not fall victim to any attacks or exploitation on your server and its websites.
Broad Range Support: The Virtualmin software suite works on several platforms including several Linux distributions, so it can be used for managing any server.
Part of an Open Source Ecosystem: Virtualmin is developed in an open source framework, hence it is also supported by a large community which encourages continual improvements to the software.
Looking at these aspects One can reasonably conclude that Virtualmin is an advanced and practical control panel for web hosting that fits the requirements of the wide range of server admins and webmasters. It doesn’t matter whether you are an expert or some newbie, you will find a perfect solution how to operate your server with the help of Virtualmin Control panel.
This part of the instruction provides you with necessary preparatory activities to be accomplished before you install Virtualmin. It has information on the operating system that the server will run along with how to create a fully qualified domain name for the server to be installed.
After the Webmin server installation, the next item of concern is compliance with all prerequisites and preferences prior to starting the virtualmin’s installation. This ranges from having all the required documents and libraries to ensuring the boot partition is sufficiently large to fit the installation. Also, considerations of the maintenance of the server service should focus on the deployment of virtualmin in a way that is automated and controlled. Further, for the server itself, it is advisable to use one large partition. This will ease administrating the server and minimize chances of problems when relocating the server to another host.
To be able to control the Webmin server, it is advisable to deploy the automated Virtualmin installer on an Ubuntu LTS platform. It allows to fully automate the installation processes and includes a server stack for mail as a part of available installation bundles. After completing the installation, it is necessary to transfer a certificate and a key file from the virtual server to communicate safely. Also, the application of webmin or usermin for the remote access to the server may be enabled by the option which is followed by the cgi scripts. This automated procedure makes the installation easier to configure and use while ensuring the system is properly managed.
Automated virtualmin installation is a type of deployment that makes the management of web servers simple. This system employs the use of disk quotas to restrict the amount of disk space that can be occupied by a certain user or group as well. And it also permits the addition of larger disks, providing more room for the operating system files and user data. The partition used in this operating system for minimal installation purposes is designed so that it can run the webmin module, which helps in the easy running of virtualmin. All in all, this configuration is effective and reduces the complexity of managing web servers which make it appealing for those who are seeking an easy to use and dependable system.
Autopilot installation of the Webmin server simplifies managing the virtualmin server. This approach is far more realistic than the installation methods previously. With the help of Cloudmin services, customers can simply find the necessary repository to perform the installation script. The installation aspect is even simplified further by going to virtualmin.com’s and signing in to the account. Thereafter users need to type in the name of the virtual server that they wish to use and the appropriate services are available in the allocated space. Now, the installation script can either be pasted onto the cloudmin server or created using the virtualmin interface. That's why it's prepared to work right after the installation, no adjustments will be required. Overall, Webmin server under control automated virtualmin installation eases the steps involved in creating and controlling a virtualmin centered environment while letting users to manage the allocation of resources that they can use, in a manner that is easiest for them.
Before you install Virtualmin, you need to put into consideration the fact that you must choose an Operating System that supports the software. Ensure to look at the system requirements as well as ease of use and pretence with your server hardware. The following are the Operating Systems that are implemented for and built for Virtual Min, common users use them:
Be sure to research the features and advantages of the different operating systems in order to identify one that best suits your preferences.
So as to be able to install Virtualmin, you need to create a fully qualified domain name FQDN for your server. An FQDN is a complete domain name that includes its host and also zone information. Again, it is important to emphasize the fact that cyberspace is sensitive to the precision of the naming so it is important to select an FQDN that is descriptive of the server in use.
To set a FQDN, do the following:
So as to download Virtualmin to your system, you first need to download the Virtualmin install script as it is an important step in the installation procedure.
To find and get the Virtualmin install script, proceed as follows :
- Go to the official site of Virtualmin which is www.virtualmin.com. - Search for the “Downloads” tab on the webpage. - Look for the most recent version of the Virtualmin installation script. - Click on its link in order to download it onto your device. - Place the specific file on your computer into a folder or directory that is easy to find.
By downloading the Virtualmin installation script you are paving the way for easy installation and set up of the whole software. Please ensure consistent internet connection in order to make the download as smooth as possible.
When the Virtualmin install script is properly downloaded, you are ready to install Virtualmin on your sever, which will be elaborated thoroughly in the section that follows.
If you want to install Virtualmin there is no need to panic. This is very simple, just follow the steps given in this article so you’re ready for the Virtualmin installation and configuration:
Go to the official Virtualmin site or a reliable source and download Virtualmin install script. Make sure to download only the latest version of the script.
Log onto your server terminal or open your SSH client and connect as the root user once you have downloaded the script.
Go to the directory where the downloaded Virtualmin install script is located.
Now we will change the script’s permissions to be executable by using the command:
chmod +x virtualmin-install.sh
Using the command mentioned below, run the Virtualmin install script:
./virtualmin-install.sh
A window will pop up that will require you to input certain information necessary for installing Virtualmin, please do so. Once the information has been provided ensure that you check the settings in the software are according to your requirements.
The required prompts will ask you about your domain name and emal address that will be linked with your account, please provide them so the installation can proceed.
Congratulations, the installation was a success. Lastly, open the Google Chrome or the browser of your choice and type in your address bar: https://your-domain.com:10000, instead of your-domain.com, put in your actual domain name and you're good to go.
- Go to Virtualmin now.
- Congratulations! You have virtually slayed it when it comes to the trying out the various features of Virtualmin. Go ahead and give it a deep dig as it is an amazing tool to manage web hosting.
Through this guide, you will easily install Virtualmin for your server and start working with an exceptional control panel for web hosting. So rest assured your server management tasks will get a lot easier when you equip it with Virtualmin.
How to Configure Virtualmin after Installation Configuring Virtualmin after Installation Please follow this step in the post installation process if you are trying to get accustomed with Virtualmin. Go through the important steps mentioned in this piece to make sure your configuration is sufficient.
The first thing you would want to do is running the post-installation wizard after your installation is complete. Also, Here Are Some Steps on How to Launch the Post Installation Wizard:
One should know that a secured Virtualmin server adds up to the entire security of the server. During a breach, data is stolen or lost. It is important to modify a few things regarding the server settings to ensure security and privacy. Here are a few pointers to manage the security features and settings effectively:
Following these protocols will ensure that your Virtualmin server –and any data within it- will be safe from malicious causes.
Making Virtualmin available for the first time would require admin server credentials. Before conferring the credentials, ensure that step preparations have been made to confer security to the server. It is necessary to make security enhancements as the data stored on the server is sensitive and vital while also providing protection along with security to the website and its users. Taking proactive measures will lessen the chances of unwanted breaches, leaks and active use of hacking tools against the server.
As the technology trend is evolving, we have to be matured while handling any information regarding our systems and server. Cybersecurity lessons have to be learned and educational resources have to be dealt with professionally, therefore here we have some tips:
Get in touch with our certified sysadmins today for a rapid assessment and instant service deployment.